How to create Splash Screen with Animation in ANDROID STUDIO [Full Guide]
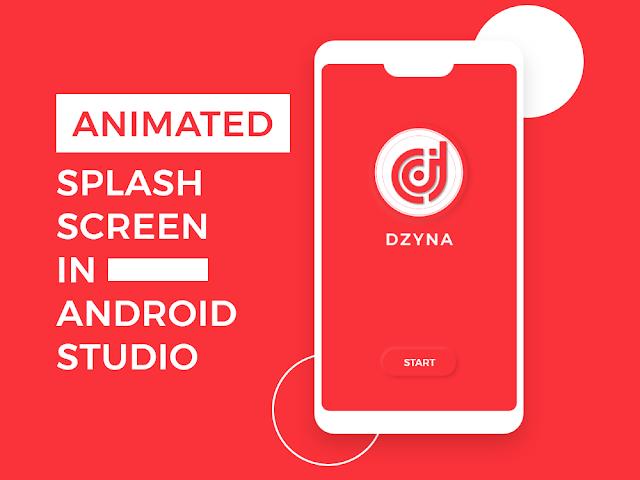
In this post, we will create user's Splash Screen with animation activity of our Firebase app in the android studio. You will learn how to create this splash screen for the user with animation in Android Studio.
We will also create Login, Signup, forgot password page and many other screens in our tutorial.
Now getting to the point. In the first place, we have to know what is splash screen.
Why Do we need Splash Screen?
We need splash screen because, Splash Screen is a welcome screen that includes images, logos or the app code slogan. As a rule, the splash screen is shown as an application screen and is used to mark or load the key contents of the program.
How to create a splash screen.
- Create New project in Android studio.
- Remove the Action Bar from project
- Write your xml code in the activity_main.xml
- Download my files and paste them in the res folder
- Place this code in the oncreate state of the MainActivity.java
getWindow().setFlags(WindowManager.LayoutParams.FLAG_FULLSCREEN, WindowManager.LayoutParams.FLAG_FULLSCREEN);
Design the XML file of splash screen
Firstly, in the first or most significant operation of the android studio program, we need to build our splash screen. It's called MainActivity.java and its XML is called "activity main.xml" by the Android lab. Therefore, you can create any design that you want with your skills for the screen. Copy and paste these xml code in the activity_main.xmlHint: Download and paste my files in the res folder to avoid errors.
XML CODE
<?xml version="1.0" encoding="utf-8"?>
<androidx.constraintlayout.widget.ConstraintLayout xmlns:android="http://schemas.android.com/apk/res/android"
    xmlns:app="http://schemas.android.com/apk/res-auto"
    xmlns:tools="http://schemas.android.com/tools"
    android:layout_width="match_parent"
    android:layout_height="match_parent"
    android:background="@color/colorPrimary"
    tools:context=".MainActivity">

    <ImageView
        android:id="@+id/sp_img"
        android:layout_width="210dp"
        android:layout_height="210dp"
        android:layout_marginStart="16dp"
        android:layout_marginTop="100dp"
        android:layout_marginEnd="16dp"
        android:src="@drawable/logo_main"
        app:layout_constraintEnd_toEndOf="parent"
        app:layout_constraintStart_toStartOf="parent"
        app:layout_constraintTop_toTopOf="parent" />

    <LinearLayout
        android:layout_width="match_parent"
        android:layout_height="match_parent"
        android:gravity="center"
        android:orientation="vertical">

        <TextView
            android:id="@+id/sp_tv"
            android:layout_width="wrap_content"
            android:layout_height="wrap_content"
            android:layout_marginTop="10dp"
            android:layout_marginBottom="40dp"
            android:text="@string/Splash_txt"
            android:textColor="@color/colorAccent"
            android:textSize="30sp"
            android:fontFamily="@font/roboto_bold"/>

    </LinearLayout>

    <LinearLayout
        android:layout_width="match_parent"
        android:layout_height="match_parent"
        android:gravity="center"
        android:orientation="vertical">

        <Button
            android:id="@+id/start"
            android:layout_width="wrap_content"
            android:layout_height="wrap_content"
            android:layout_marginTop="550dp"
            android:background="@drawable/sp_start_btn"/>

    </LinearLayout>

    <ProgressBar
        android:id="@+id/progress_circular"
        android:layout_width="match_parent"
        android:layout_height="match_parent"
        android:background="@color/colorPrimary"
        android:visibility="invisible"/>


</androidx.constraintlayout.widget.ConstraintLayout>
Create animation resource file for animations in android
To create a new animation resource file in android studio
- Go to res folder and create a new folder in it with a name anim, which is already available in my files
- Create 2 new Resource files with names slide_in_left, slide_in_right, bottom_anim inside anim folder.
Slide in Left Code:
<?xml version="1.0" encoding="utf-8"?>
<set xmlns:android="http://schemas.android.com/apk/res/android">
  <translate android:fromXDelta="100%" android:toXDelta="0%" android:duration="800"> </translate>
</set>
Slide in Right Code:
<?xml version="1.0" encoding="utf-8"?>
<set xmlns:android="http://schemas.android.com/apk/res/android">
  <translate android:fromXDelta="-100%" android:toXDelta="0%" android:duration="800"> </translate>
</set>
Bottom animation Code:
<translate android:fromXDelta="0%"
  android:fromYDelta="500%" android:duration="1200"/>
<alpha android:fromAlpha="0.1"
android:toAlpha="1.0" android:duration="800"/>
Call animations in (MainActivity.java) and Assign to Elements with Button click Listener.
MainActivity.java
public class MainActivity extends AppCompatActivity {

    //Variables
    Animation left,right,bottom;
    TextView sp_tv;
    Button start;
    ImageView log_main;
    ProgressBar load;

    @Override
    protected void onCreate(Bundle savedInstanceState) {
        //Full Screen Mode
        getWindow().setFlags(WindowManager.LayoutParams.FLAG_FULLSCREEN, WindowManager.LayoutParams.FLAG_FULLSCREEN);
        super.onCreate(savedInstanceState);
        setContentView(R.layout.activity_main);

        //Hooks
        left = AnimationUtils.loadAnimation(this, R.anim.slide_in_left);
        right = AnimationUtils.loadAnimation(this, R.anim.slide_in_right);
        bottom = AnimationUtils.loadAnimation(this, R.anim.bottom_anim);

        sp_tv = findViewById(R.id.sp_tv);
        start = findViewById(R.id.start);
        log_main = findViewById(R.id.sp_img);
        load = findViewById(R.id.progress_circular);

        //Start Animation
        sp_tv.setAnimation(right);
        log_main.setAnimation(left);
        start.setAnimation(bottom);

        start.setOnClickListener(new View.OnClickListener() {
            @Override
            public void onClick(View v) {
                load.setVisibility(View.VISIBLE);
                Intent intent = new Intent(v.getContext(), SignUp_Activity.class);
                startActivity(intent);
            }
        });

    }
}


0 comments